Homework 3 Part 2 Images
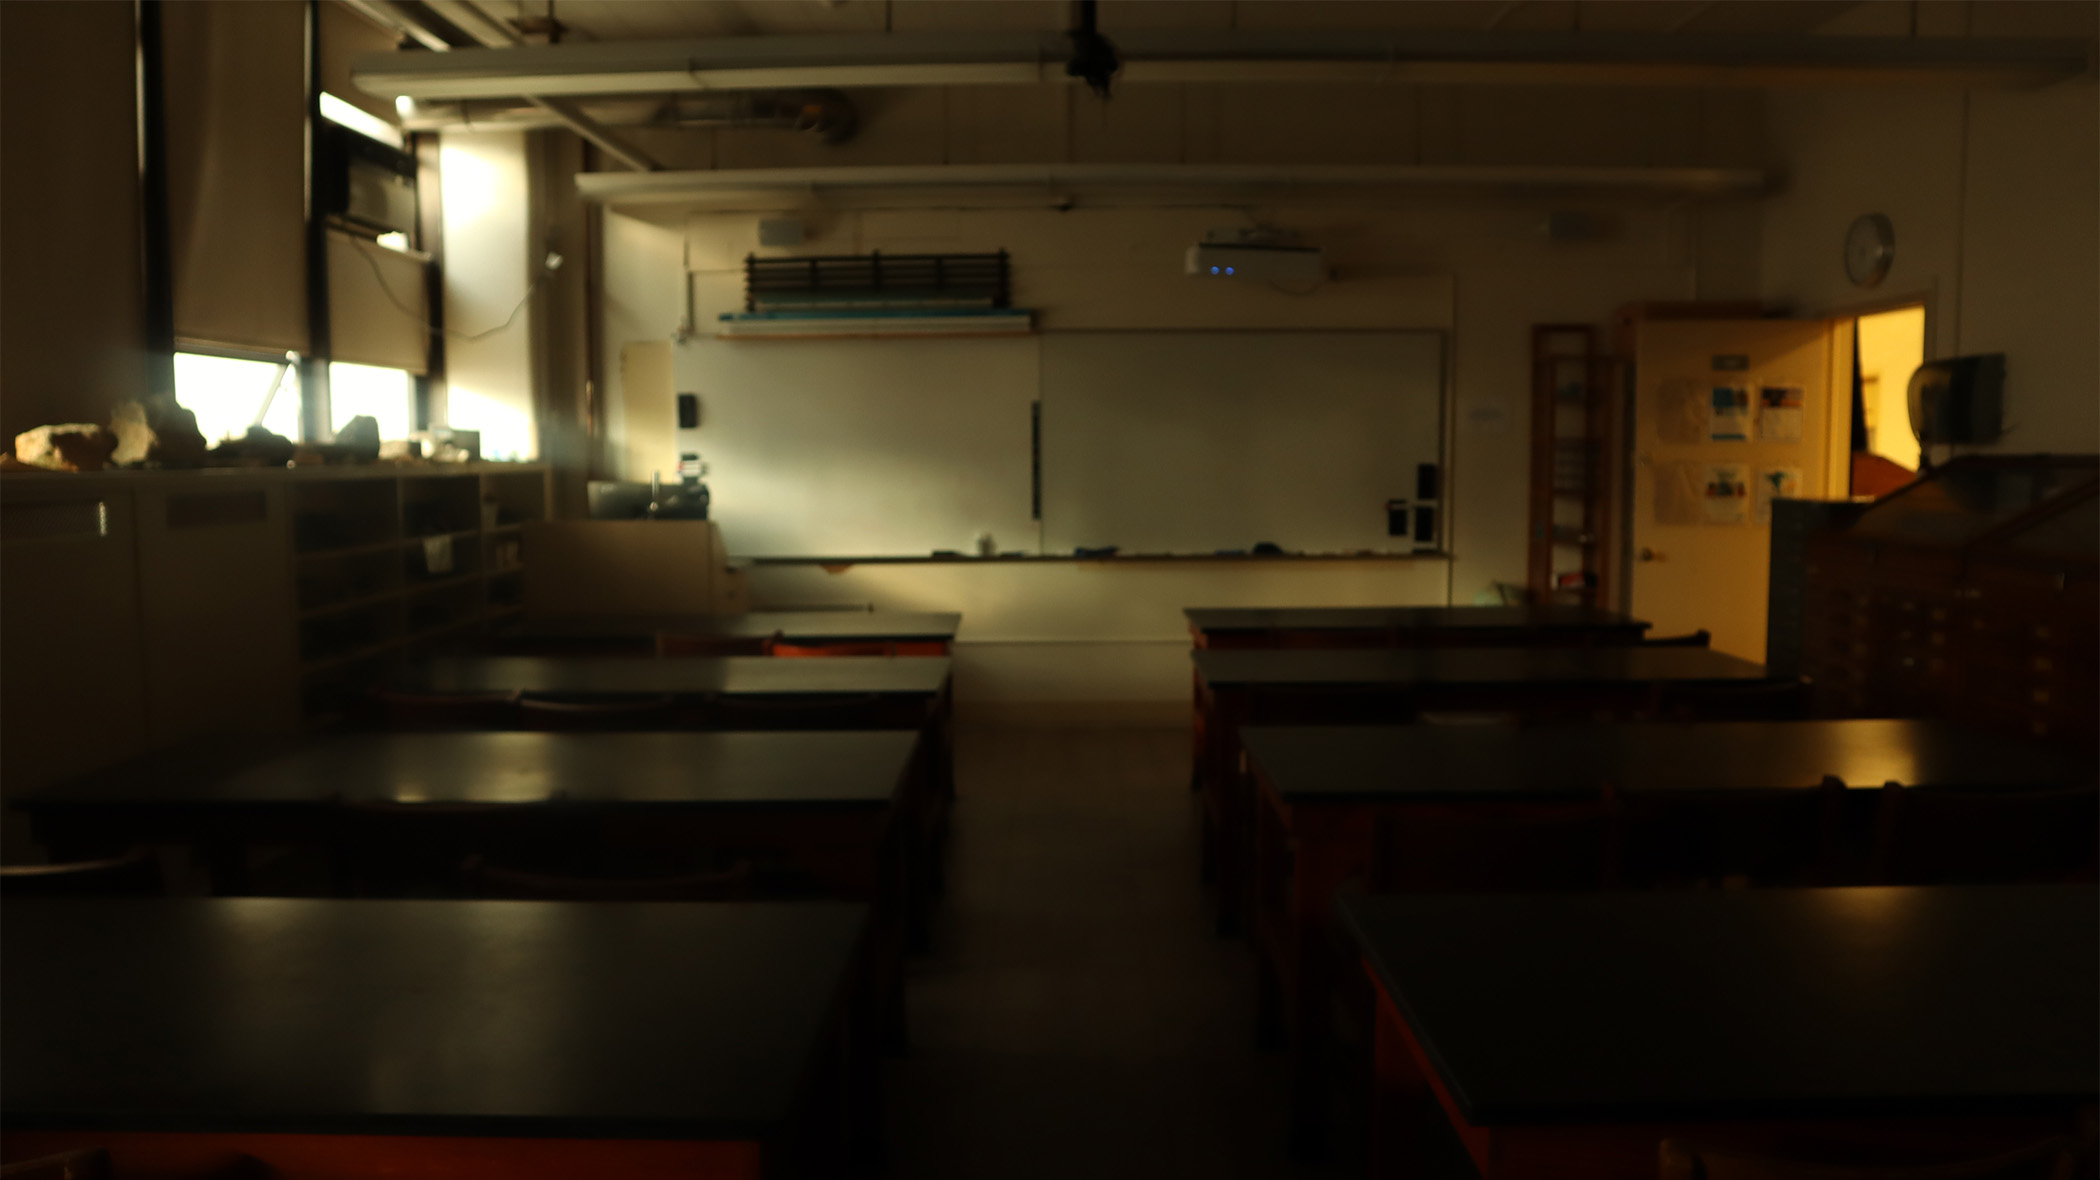
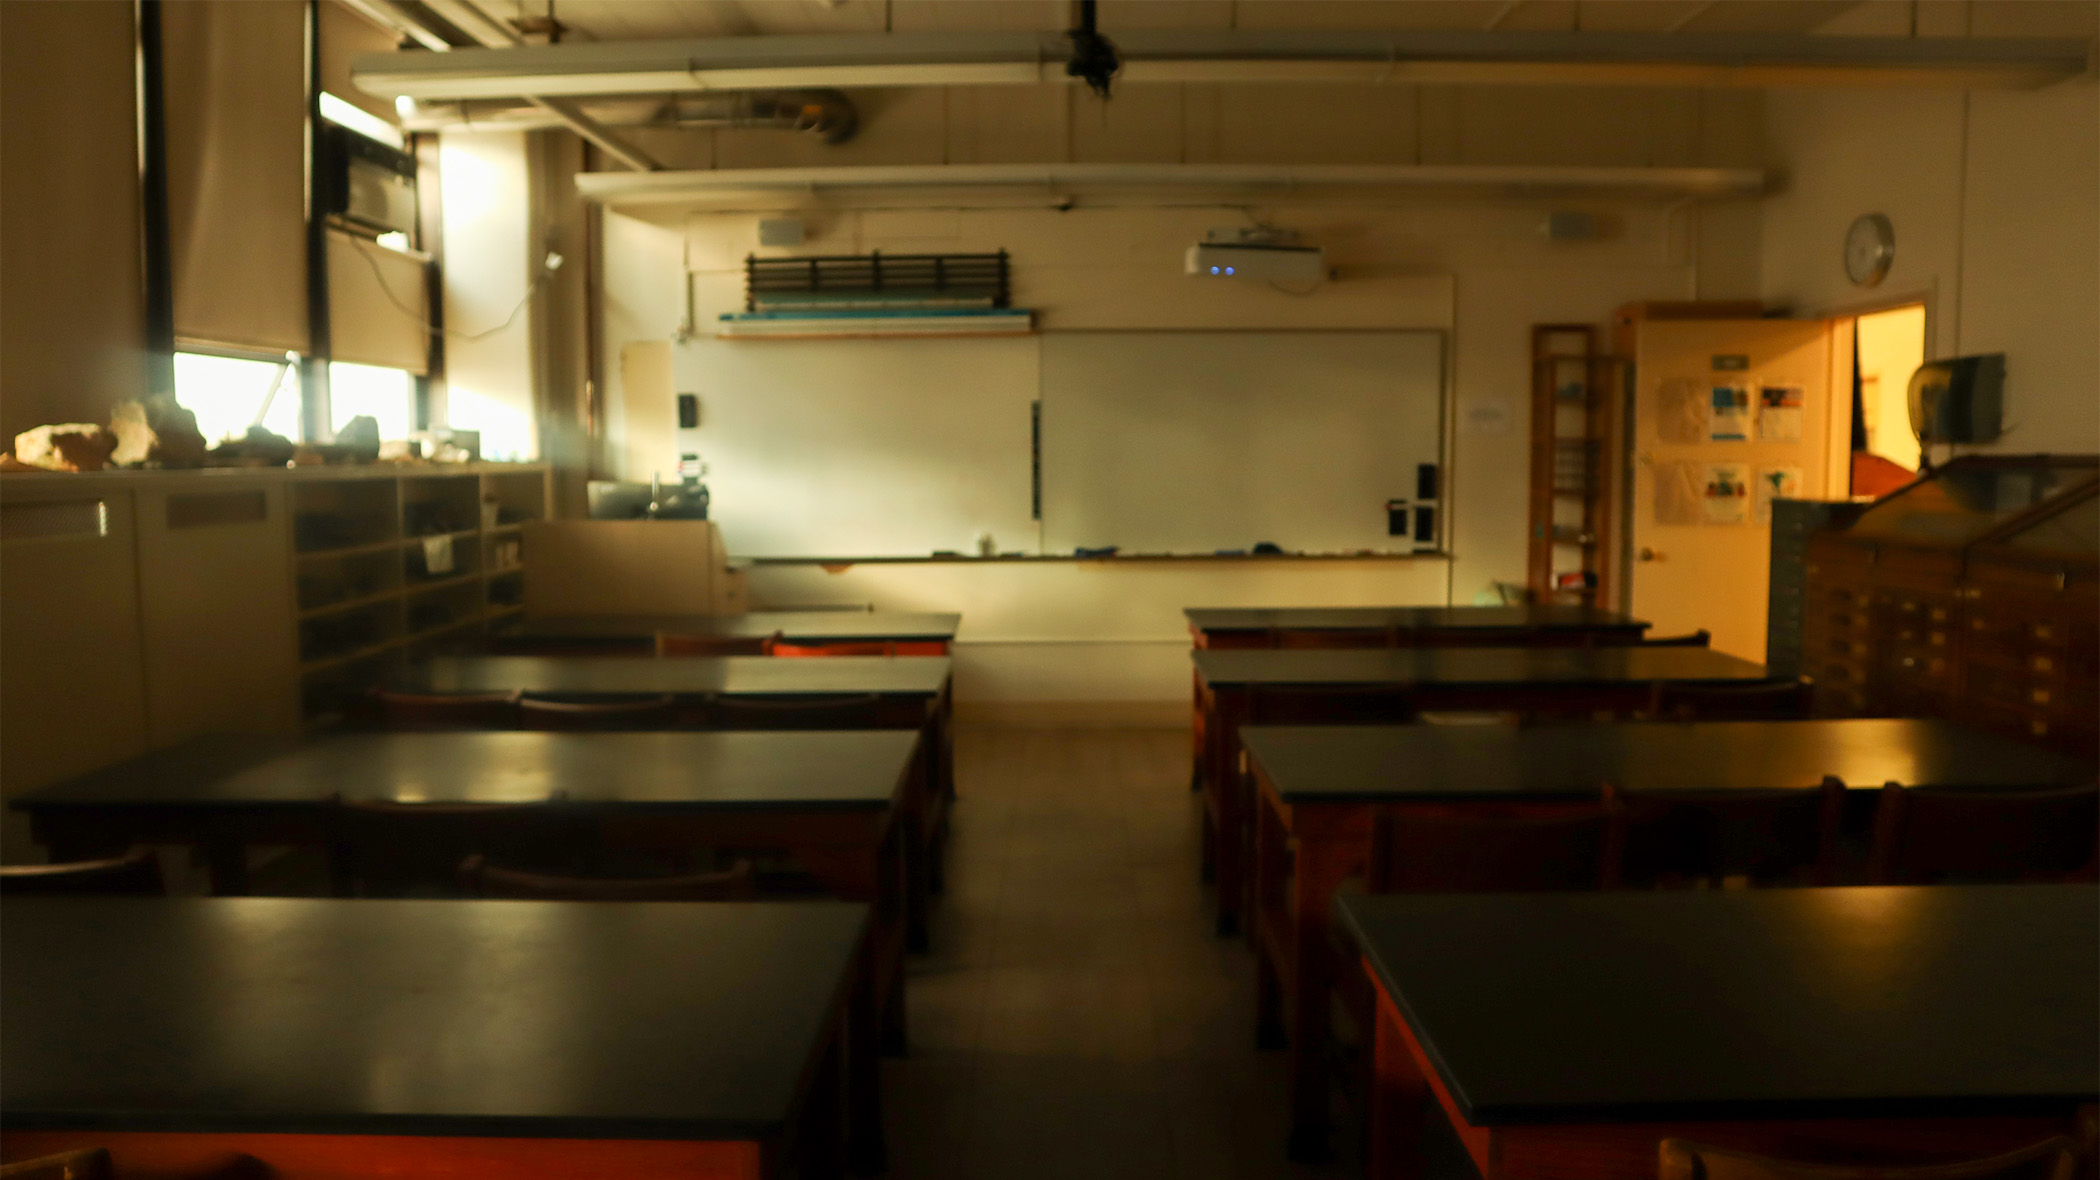
Before/After:
Homework 3 Part 1
Back to Home